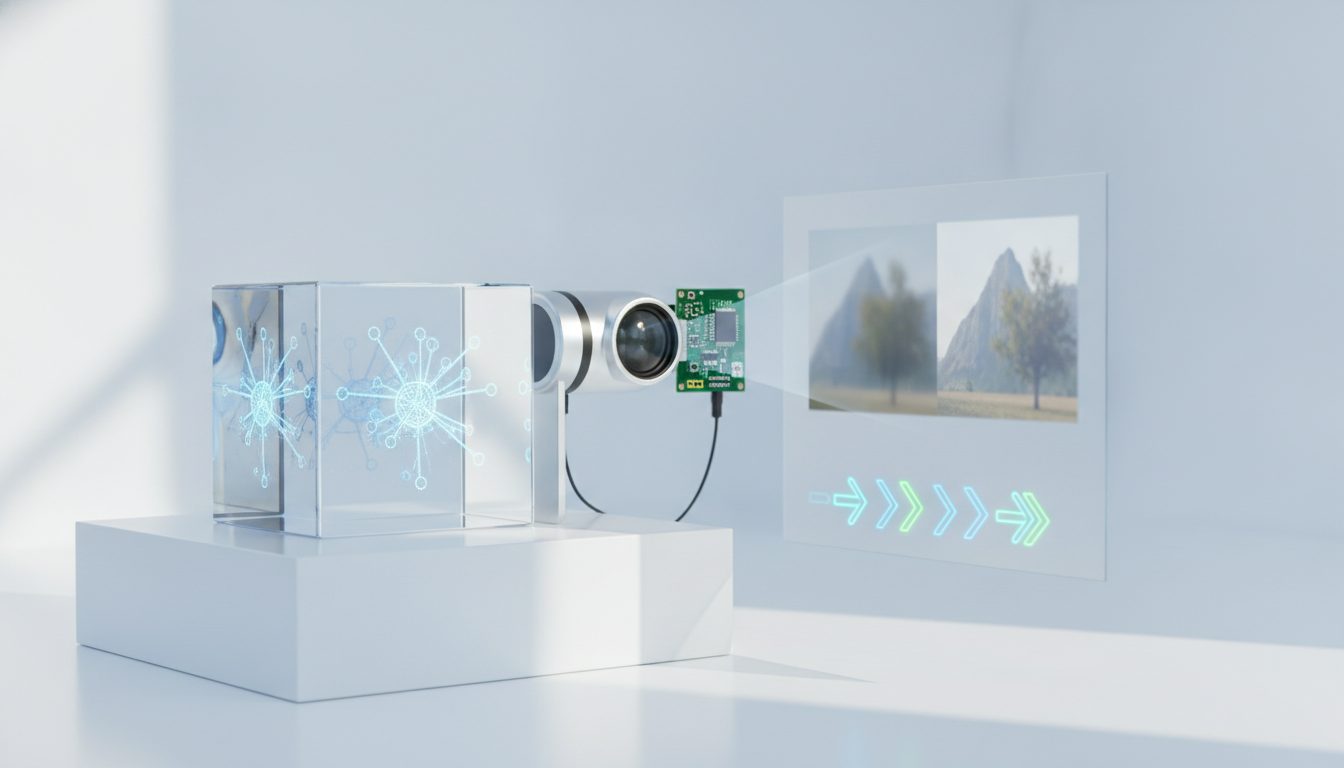
An AI image enhancer improves the quality of a photo by using a super-resolution model. It adds pixels and rebuilds detail, so you don't end up with a bigger but blurry picture. The process is simple: upload your photo, choose how much to enlarge it, check the result and export it in the right format.
In this guide we'll walk you through enhancing an image step by step with Pictulab's enhancer. You'll also see what AI can and can't fix, and how to get your product photos ready for your online store.
What "improving image quality" actually means
When people say a photo is "low quality", they usually mean one of these problems:
- Low resolution: the image has too few pixels and looks pixelated when you enlarge it.
- Lack of sharpness: edges look soft because of slight blur or camera shake.
- Noise: coloured grain appears, especially in photos taken in low light.
- Compression artefacts: blocks and halos left behind by an over-compressed JPG.
- Poor lighting: the photo is dark, flat or has dull colours.
Each problem has its own fix, so it's worth working out what's wrong with your photo before you start. A small but sharp image recovers far better than a large one with motion blur.
How AI photo enhancement works
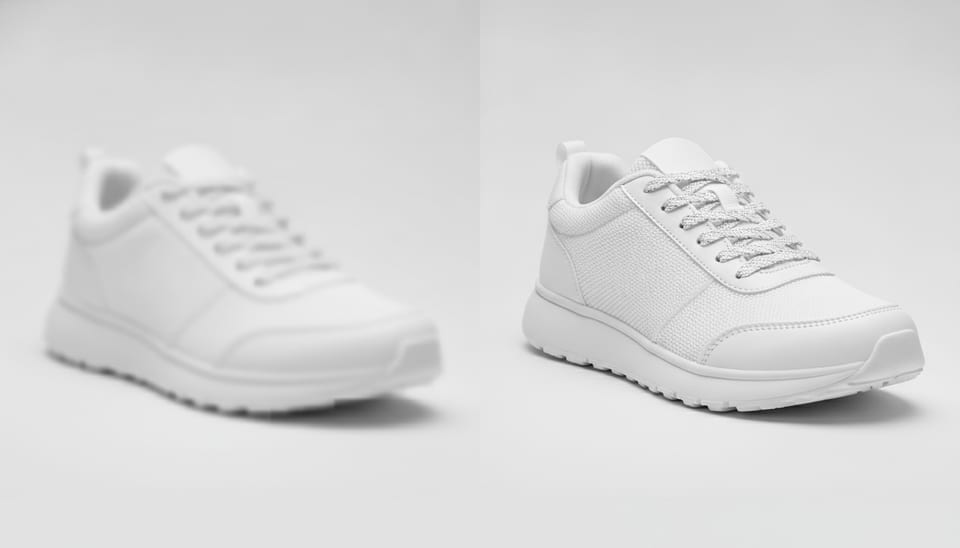
Traditional upscaling methods, such as bicubic interpolation, simply fill in new pixels with an average of the ones around them. The image gets bigger, but it looks soft and lacks detail.
AI models have been trained on huge numbers of images. They've learned what textures, edges and materials usually look like. When an AI image upscaler enlarges a photo, it predicts the detail that was most likely there and draws it in: the knit of a jumper, the shine on metal or the grain in wood.
This has one important consequence: AI doesn't recover lost information, it reconstructs it plausibly. For most product photos the result is very convincing. Even so, with fine-precision elements like small text, logos or serial numbers, it can invent shapes that aren't exactly the original ones.
Step by step: enhancing an image with Pictulab
1. Start with the best version of the photo
Always work from the original file, not a screenshot or an image downloaded from social media, which are usually recompressed. The more information you start with, the better the result.
2. Upload the image
Go to enhance image quality and drag your photo in. Before it's processed, you'll see how many tokens the generation costs, so you decide with the price in front of you — no surprises.
3. Choose the upscaling factor
Think about where the image will be used. A product page with zoom needs more resolution than a category thumbnail. Enlarging more than you need adds nothing and creates heavy files.
4. Check the result at 100%
Zoom in and look closely at edges, textures and any text or logos. If something looks off, try a smaller upscaling factor or start from a better photo.
5. Optimise for the web
An upscaled image is heavier. Run it through the image compressor and, if your store supports it, convert it to WebP with the format converter. Both tools are free and run in your browser, so your images are never uploaded to a server.
What AI can and can't do
Realistic expectations save you time and tokens.
What it usually does well:
- Enlarging small photos without them looking pixelated.
- Restoring sharpness to slightly soft images.
- Reducing noise in low-light shots.
- Cleaning up blocks and halos from heavily compressed JPGs.
Where it has limits:
- Very blurry or shaky photos: if you can't make out the object's shape, the AI has nothing to work from.
- Small text and logos: letters can get distorted. Always check them.
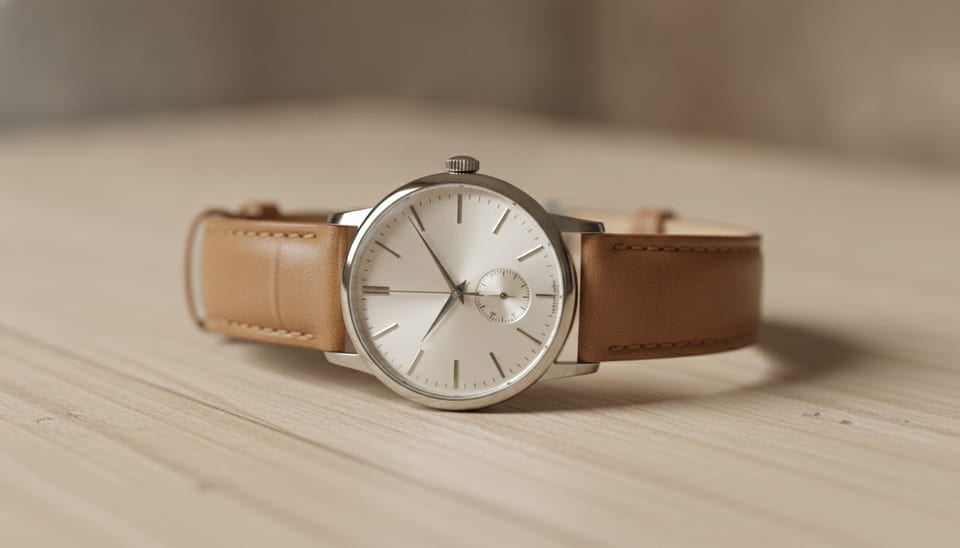
- Details that identify the product: on a product page, the photo must show the real item. If the AI changes a seam, a print or a colour, the customer will receive something different from what they saw.
- Tiny images: from a thumbnail of just a few pixels you'll get a bigger, cleaner image, but not what a good original photo would have given you.
Tips for product photos in online stores
If you sell online, image quality is as much a part of the listing as the description. These tips will help you get more out of AI:
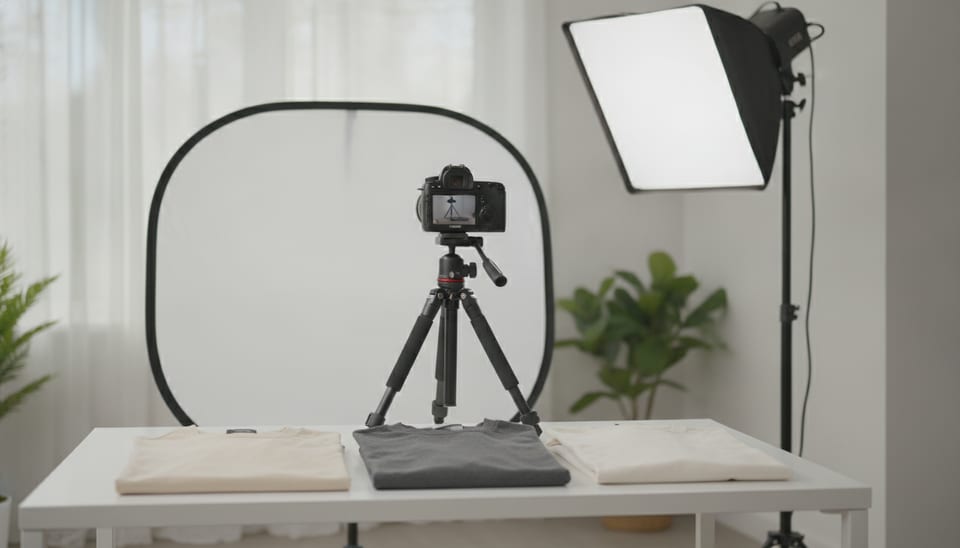
- Shoot in good light. Soft natural daylight or a couple of diffused lights cut noise at the source.
- Use a tripod or prop up your phone. Preventing camera shake works better than fixing it later.
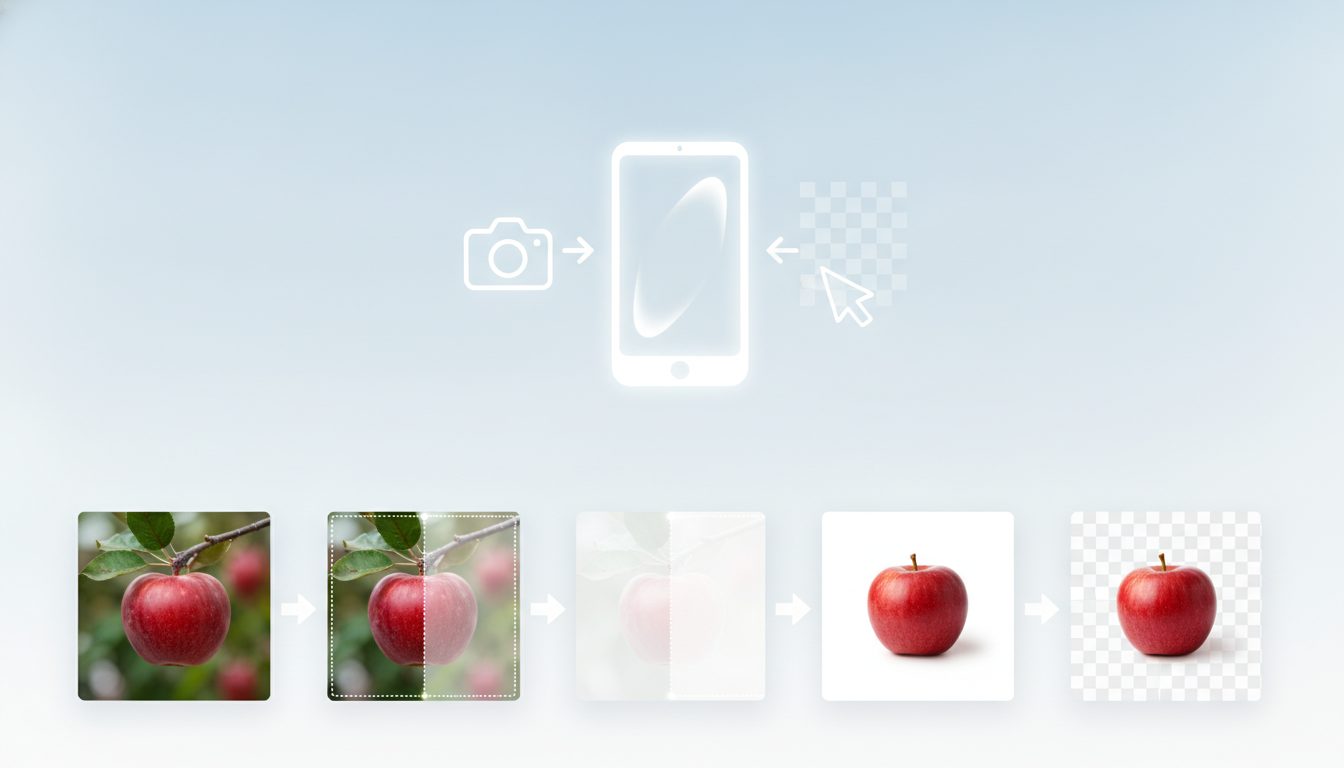
- Enhance first, cut out later. If you're removing the background, do it on the enhanced version: the edges come out cleaner. For that you can use the free background remover, which also runs in your browser.
- Keep your catalogue consistent. Process every photo in a collection with the same settings so your store looks uniform.
- Check each channel's requirements. Marketplaces, social networks and your own site may ask for different sizes and formats. Review their guidelines before exporting.
Common mistakes when enhancing images
- Upscaling several times in a row. Each pass piles up invented detail. One upscale from the original works better.
- Starting from a recompressed copy. Photos saved from WhatsApp or social media have lost information along the way.
- Not checking at 100%. Everything looks perfect when zoomed out. Flaws show up when you zoom in.
- Forgetting the final file size. A huge uncompressed image slows your page down. Compress it and pick a modern format.
- Over-sharpening. Too much sharpening creates halos around edges and an artificial look.
How much it costs to enhance photos with Pictulab
You can try it without paying a thing. The free plan includes 100 welcome tokens, once, with no card required. For reference, 100 tokens equal €1, and every generation shows its cost before you run it.
If you work with large catalogues, there are monthly plans with VAT included: Starter at €12, Pro at €36 and Business at €120. Pay annually and you get two months free.
The web tools for removing backgrounds, compressing and converting are free and don't use any tokens.
Start free — 100 tokens on us, no card required.
You might also like
- [ENLACE: how to remove the background from a product photo]
- [ENLACE: how to compress images for an online store without losing quality]
FAQ
Can I enhance an image without it looking AI-edited?
For most product photos, yes, as long as you start from a decent original and don't upscale more than you need. Check the result at 100%, especially text, logos and fine edges.
Can AI fix a very blurry photo?
It depends how blurry. If you can still make out the object's shape, AI can bring back a good amount of sharpness. If the photo is so shaky you can't tell what's in it, there isn't enough information and the result won't be faithful.
Should I upscale first or remove the background first?
Usually it's better to enhance first and remove the background afterwards. With more resolution and sharper edges, the cut-out comes out cleaner.
Are my photos uploaded to a server?
Pictulab's free web tools (background remover, compressor and converter) run in your browser and never upload your images to a server. The AI features that use tokens do process the image to generate the result.
How many images can I enhance on the free plan?
It depends on the cost of each generation, which you'll see before running it. You get 100 welcome tokens, worth €1, to try the tool without entering a card.
Create visual content with AI for your business
Generate, edit and organize your images in one platform. Start free, no card required.
Get started free